
Easy and fast to the vehicle Exposé
Recently was in one of the last PAS Plus Updates introduced a new and helpful feature. This post is intended to be a brief introduction to how it works.
Advantage of a vehicle exposé
With the help of the exposé function, you can now create a vehicle exposé quickly and easily.
This is helpful for customers and prospects, professional and easy to send all important data to a vehicle. The direct integration into your autosoftware saves you a lot of time and money.
Direct to the vehicle Exposé
Step 1:
Select a vehicle for which you want to create an exposé (vehicle list or parking lot) and right-click on it.
Step 2:
Find the “Create Exposé” function in the right-click menu and click on it.
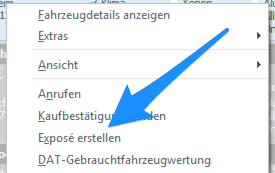
If this function is not available in the version of our car search engine you are using, please install the latest software update.
You can use the automatic update, in which you PAS Plus exit and then start again. After the restart, an information window appears in which you can start the update process.
Step 3:
The window for the Exposé creation opens.
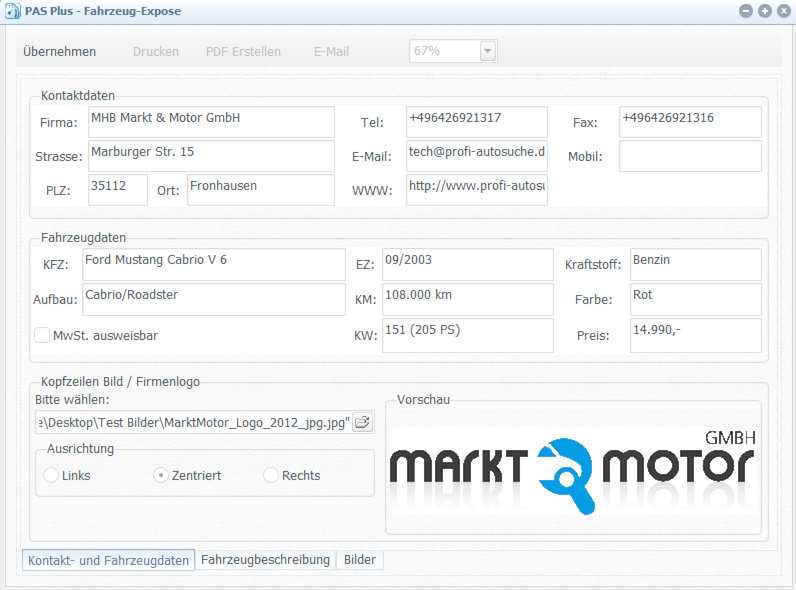
In the upper area (contact details), your contact details are already filled in automatically if you have specified them in the settings. If this is not the case, you can always save them in the program settings or enter them individually for each synopsis.
In the following area (vehicle data), the vehicle data of the selected vehicle have been adopted. You can use these as you wishpassenior
Finally, if desired, you can choose a logo in the lower area, which is integrated in the vehicle exposé.
Step 4:
At the bottom of the window, click on “Description”.

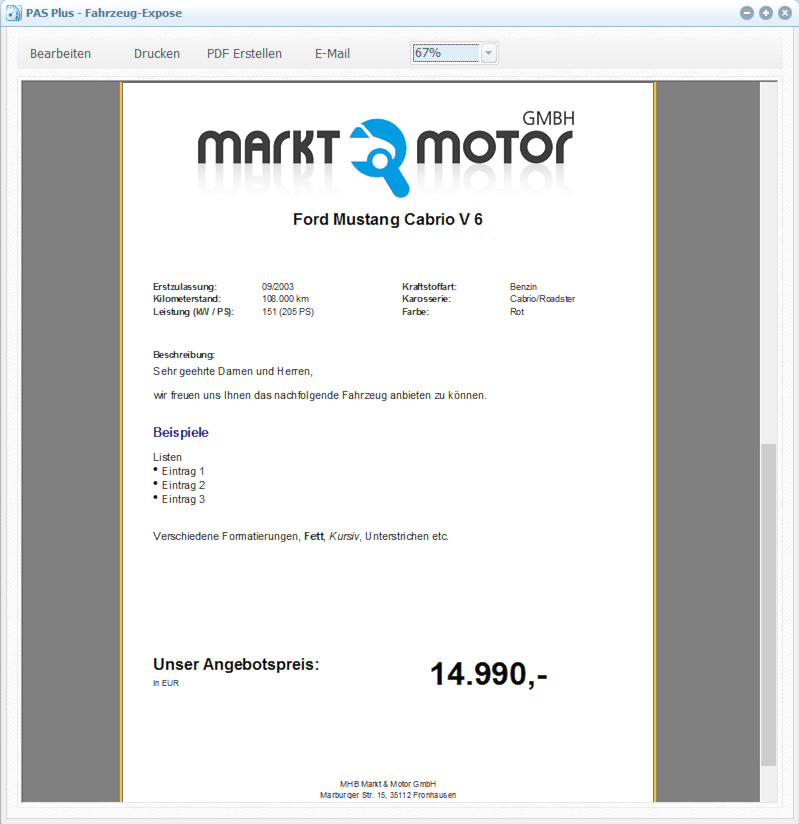
Now enter your vehicle description as you wish. The usual formatting options are available to you.
Amongst other things
Bold, Italic, Underline
Different font sizes
Different font colors
Left, Right-justified or Centered
Step 5:
Click on “Images” to set the vehicle images.
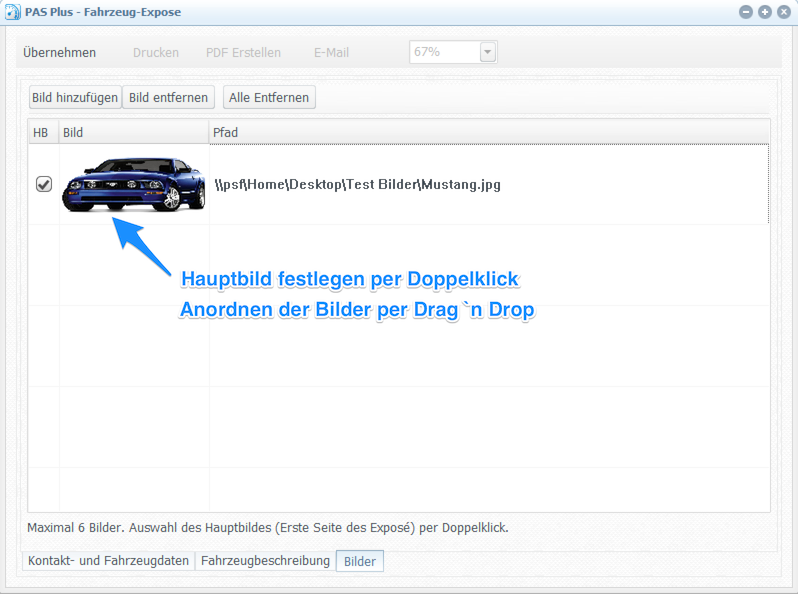
Insert the vehicle images by clicking on “Add image”.
With a double click on the desired picture you define it as the main picture. The main picture will then appear on the cover sheet of your exposé.
If you want to change the order of the added images, click on the relevant image and hold down the left mouse button. Move the mouse up or down to view the arrangementpassenior
Complete
When you have completed all the entries, you can create your synopsis by clicking on “Apply”. You will find this point in the upper area of the window.
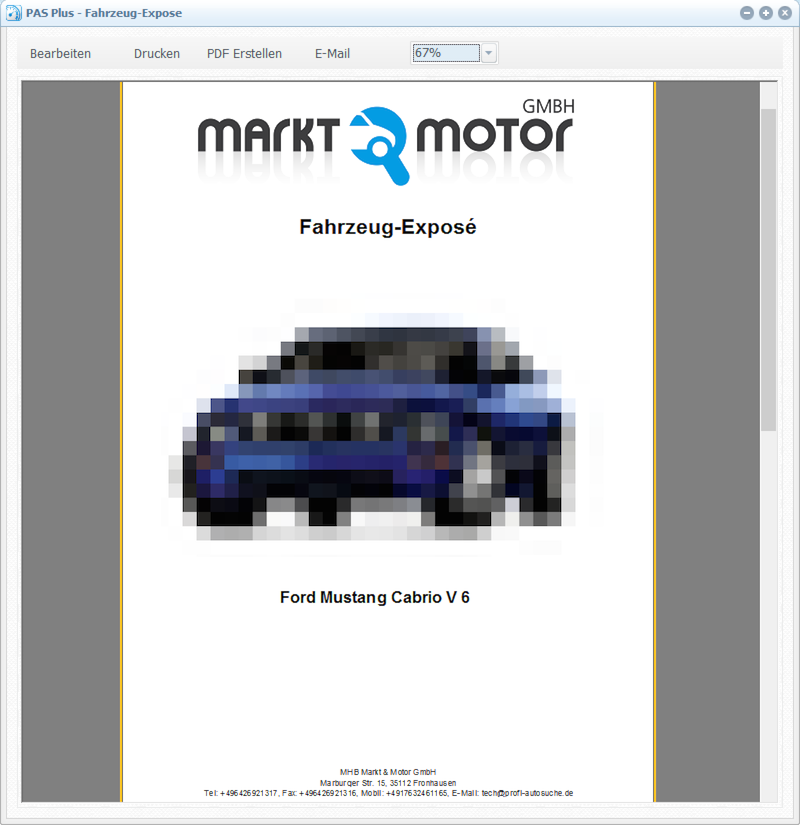
With this you have successfully created the exposé and can now either print it out, save it as a PDF or send it directly by e-mail.
Written on 19.08.2015 at 15: 52